Django Appointment System: Screenshots and Tutorial
Welcome to the Django Appointment System! This guide will walk you through setting up and using the system, complete with screenshots and a video tutorial.
Getting Started
After completing the initial setup steps - making migrations, migrating, running the server, and creating a superuser - you might want to create an appointment as a client. However, this is not possible initially as no services or staff members are yet configured.
Adding a Service
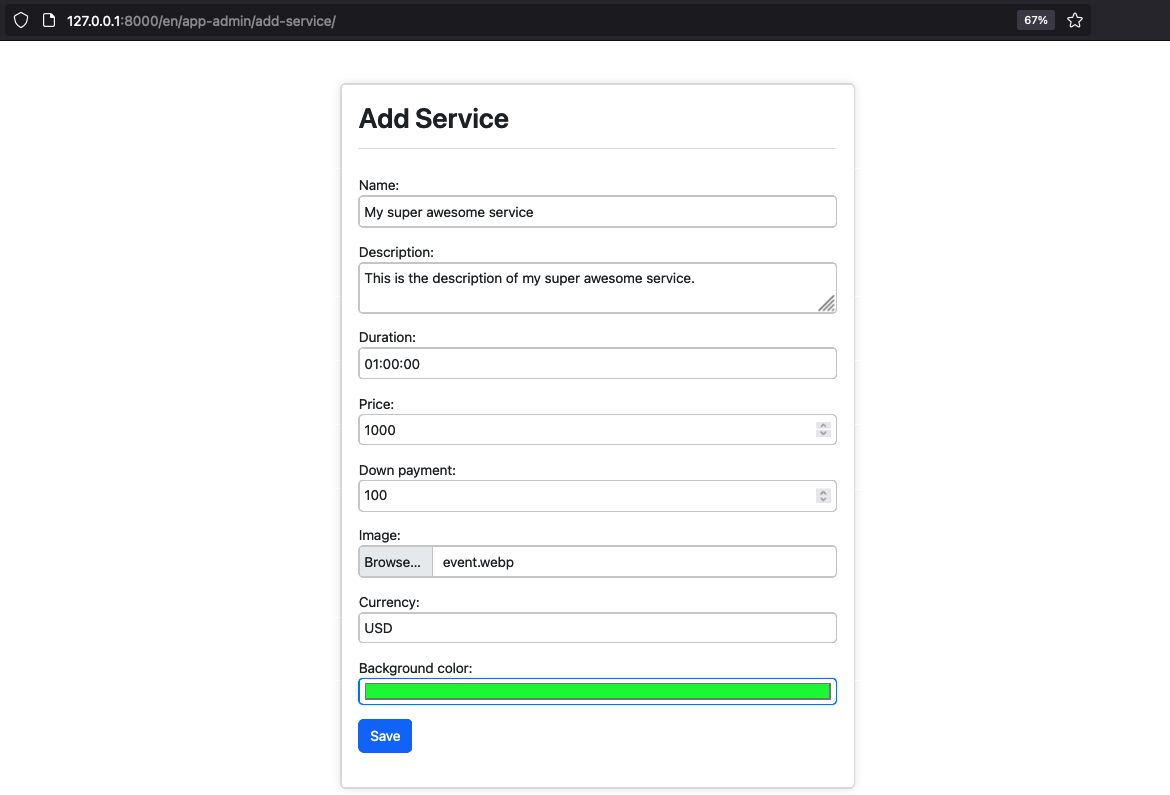
Your first step is to add a service. Navigate to the admin page and add a service at
/app-admin/add-service/, under the prefix you mounted the package on. With the
path('appointment/', include('appointment.urls')) used in the
installation guide, that is:
Attempting to Create an Appointment
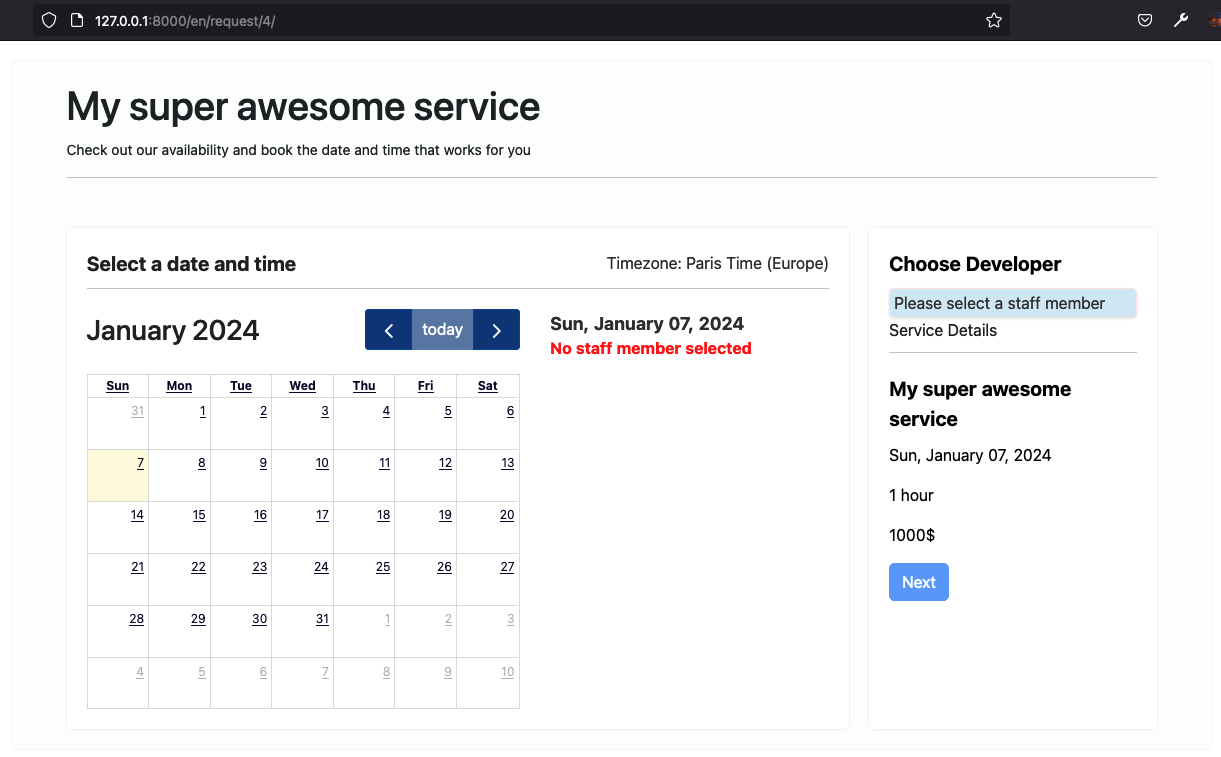
If you attempt to create an appointment request now, it's still not possible as there are no staff members yet:
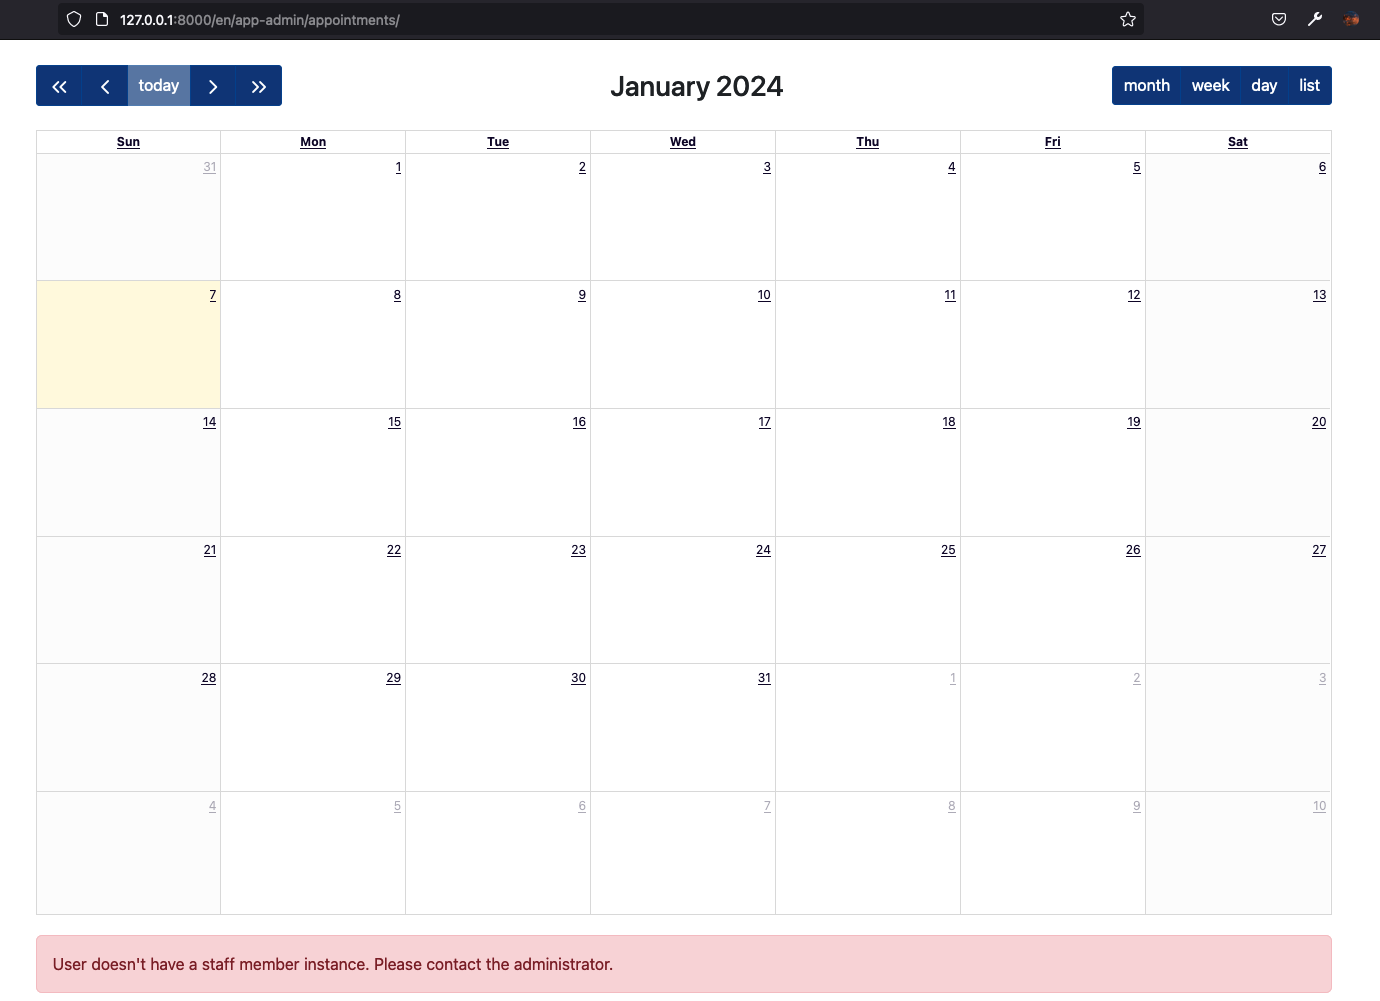
Similarly, if you check the list of appointments, it will be empty and you'll get a warning:
Adding a Staff Member
To add a staff member, visit:
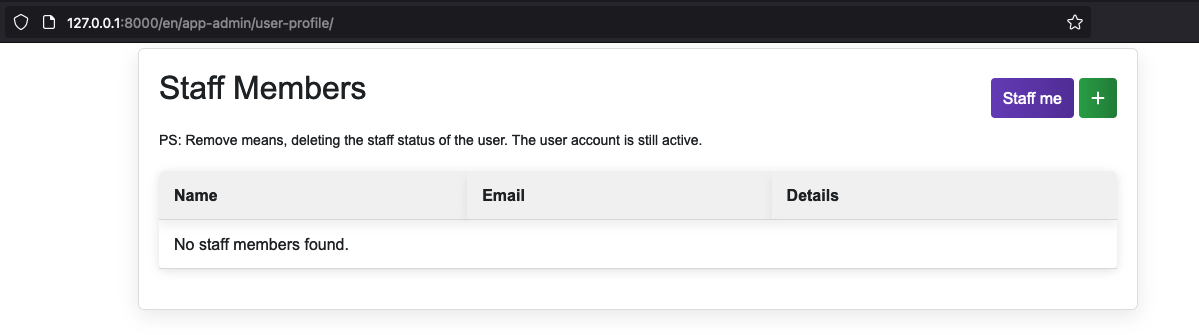
You can either add a new staff member or assign yourself as a staff member, especially if you are a superuser. In this example, I will demonstrate using the Staff me button.
Updating Your Profile
Once you have created a staff member profile, you need to specify the services you offer. After doing so, your initial profile page will look something like this:
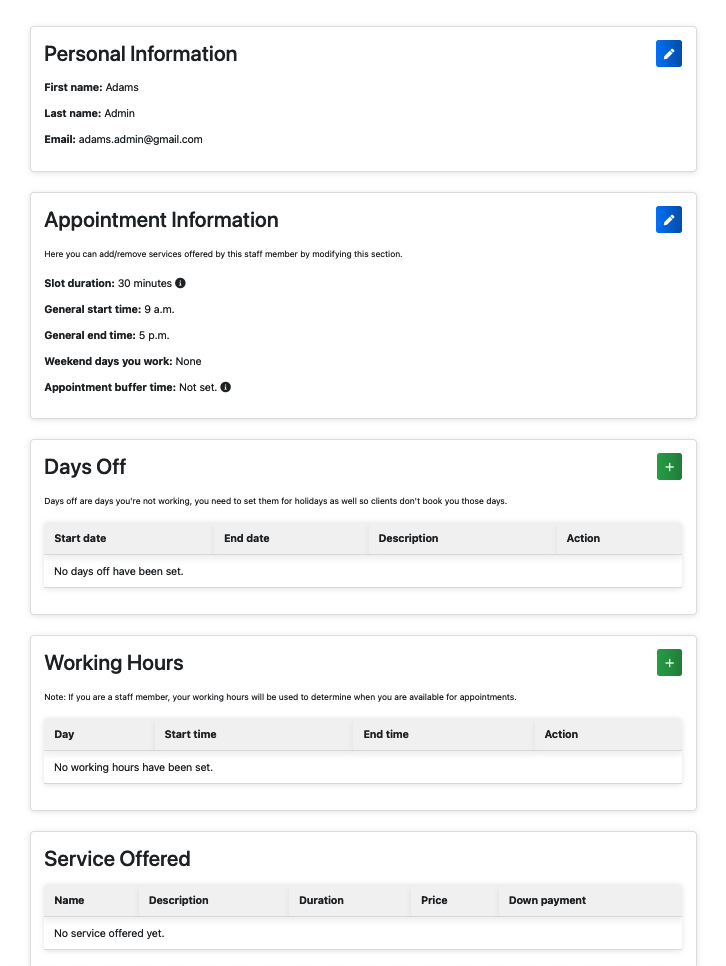
To edit your appointment information, such as the services you offer, click on the edit icon next to Appointment Information:
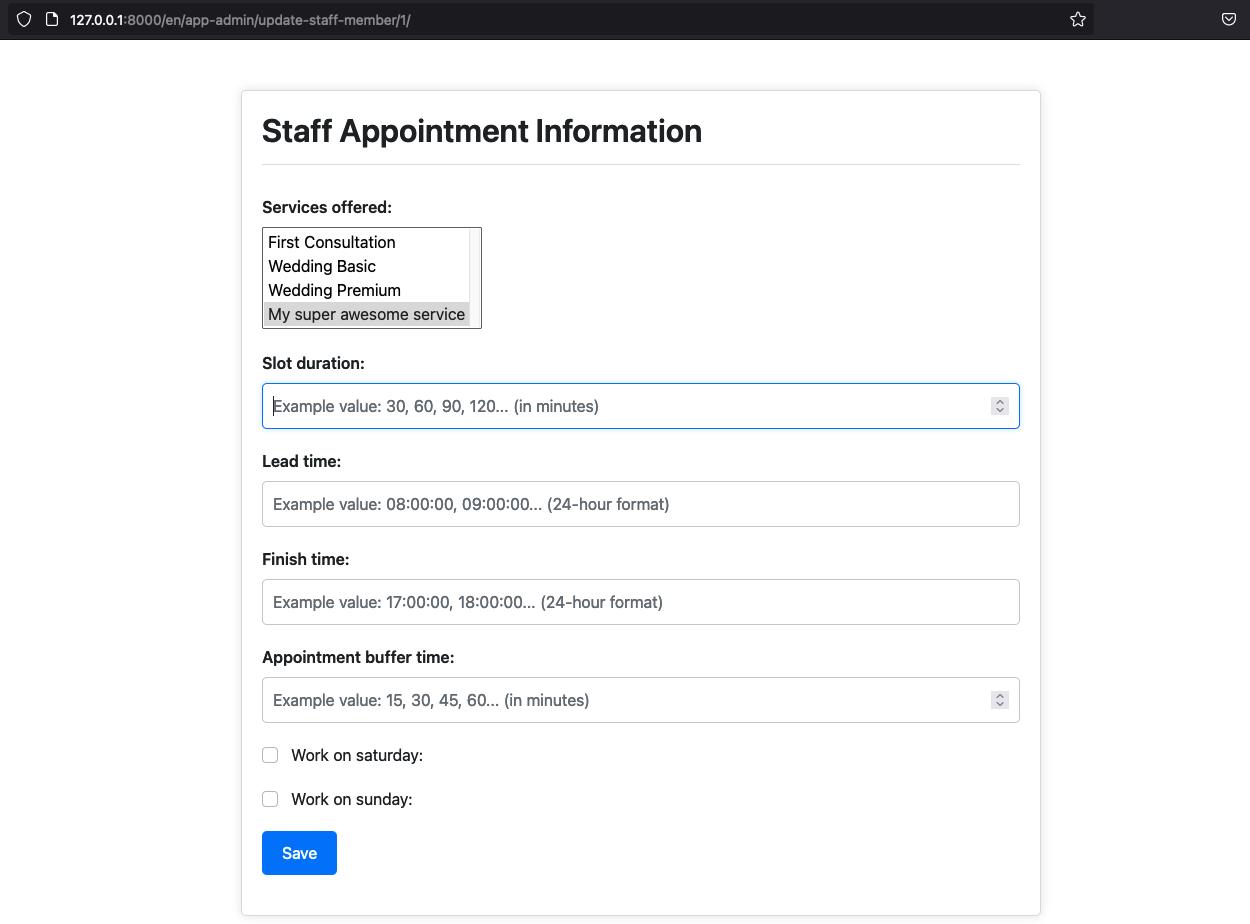
After selecting the services you offer, you may leave other fields blank if desired, and then click Save.
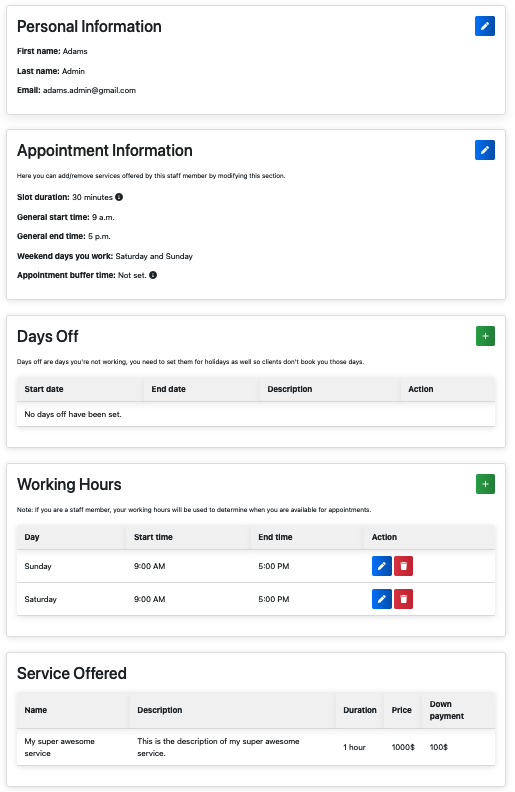
Additionally, select the days you wish to work by clicking the add icon next to Working Hours. For demonstration purposes, I have chosen Saturdays and Sundays from 9 AM to 5 PM.
Your updated profile should look like this:
Client's Perspective: Creating Appointments
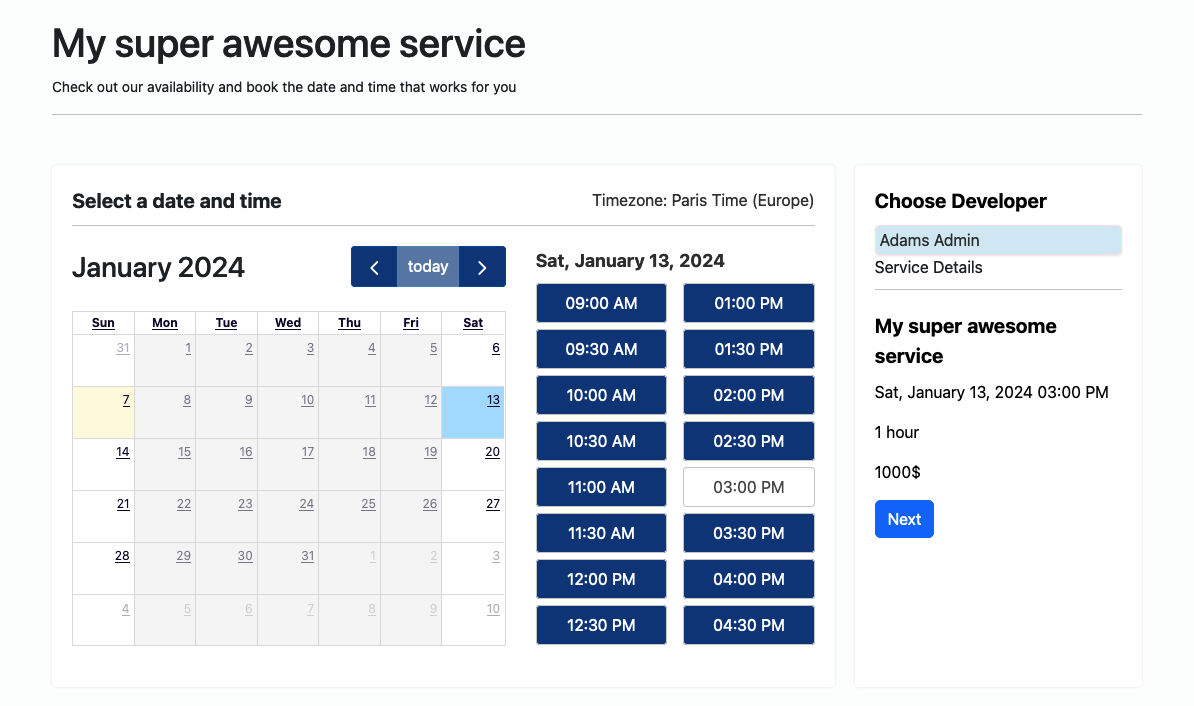
Now, users can start creating appointments. The interface for clients would appear as follows:
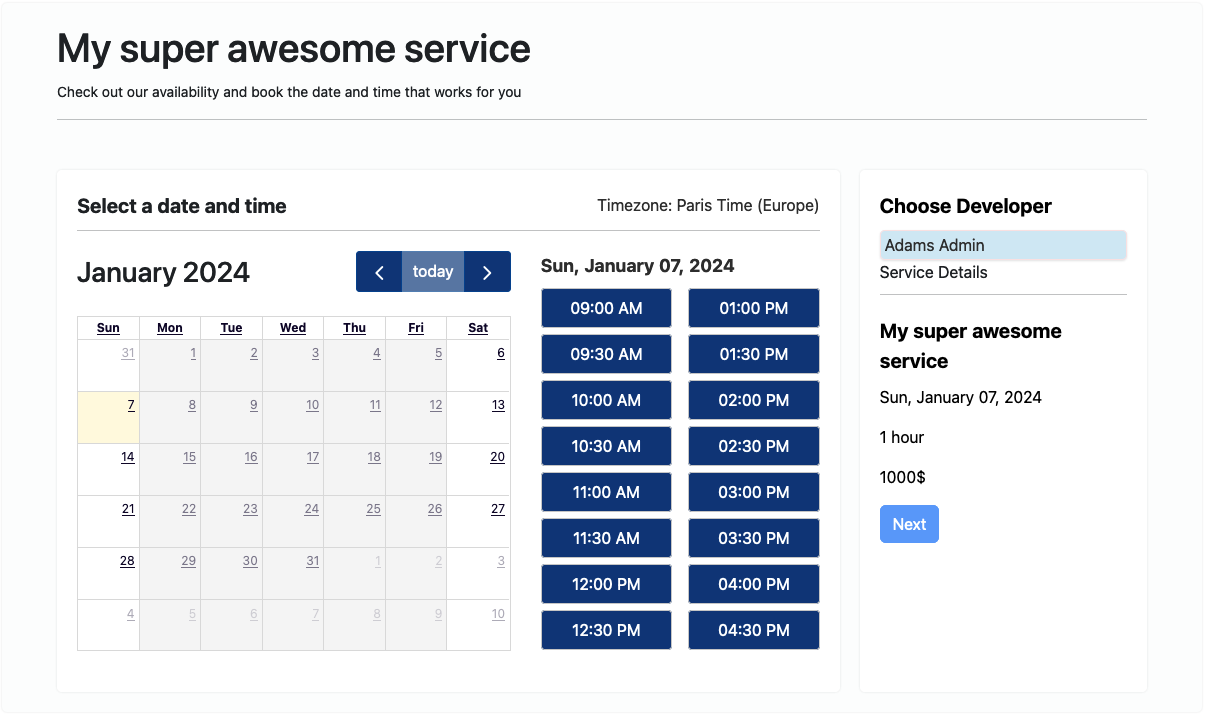
Notice that only Saturdays and Sundays are selectable, with the only staff member (you) selected by default.
Let's create an appointment request for Saturday, January 13th, 2024, at 3:00 PM:
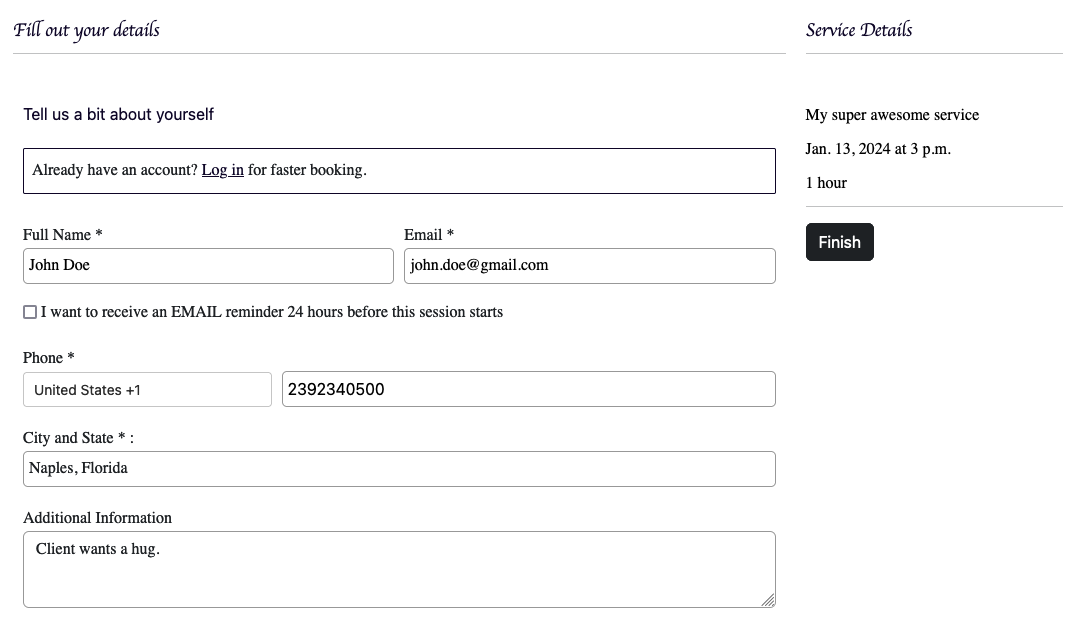
Next, add your personal information:
Payment Options
If the service is paid and a payment link is set in settings, the Pay now button will appear. If down payments are accepted, a Down Payment button will also be available. Otherwise, a Finish button will be displayed.
Upon completion, an account is created for the user, and an email is sent with appointment and account details, provided the email settings are correctly configured.
Managing Appointments
As an admin, you can now view the newly created appointment in your staff member appointment list:
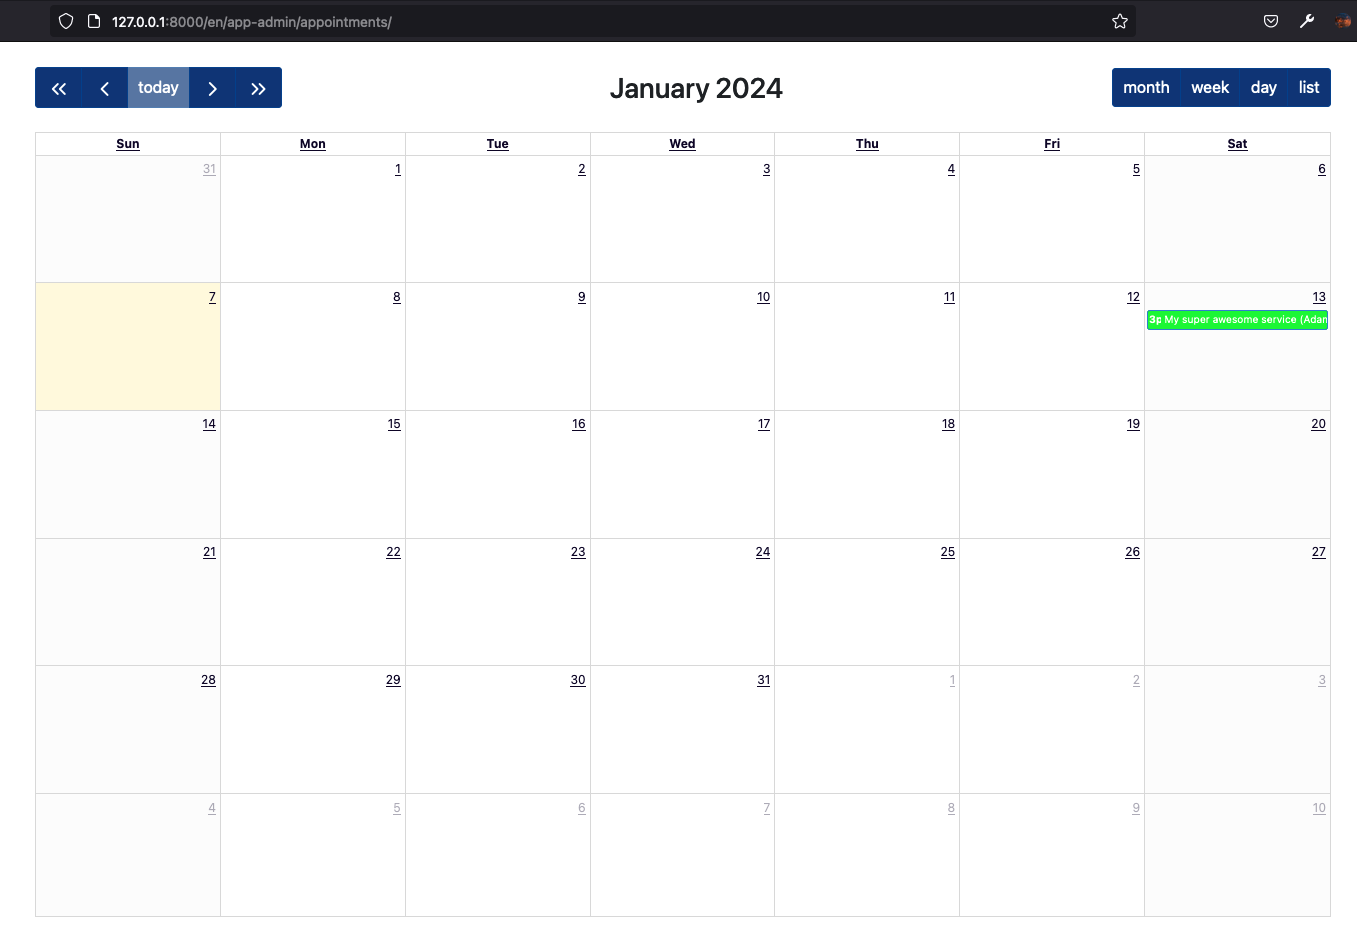
In the admin interface, you have various options to manage appointments, such as editing, adding new appointments, deleting, or rescheduling them by dragging and dropping.
Video Tutorial
For a more comprehensive guide, including visual demonstrations of these steps, please watch the following video tutorial: